 微物联研究院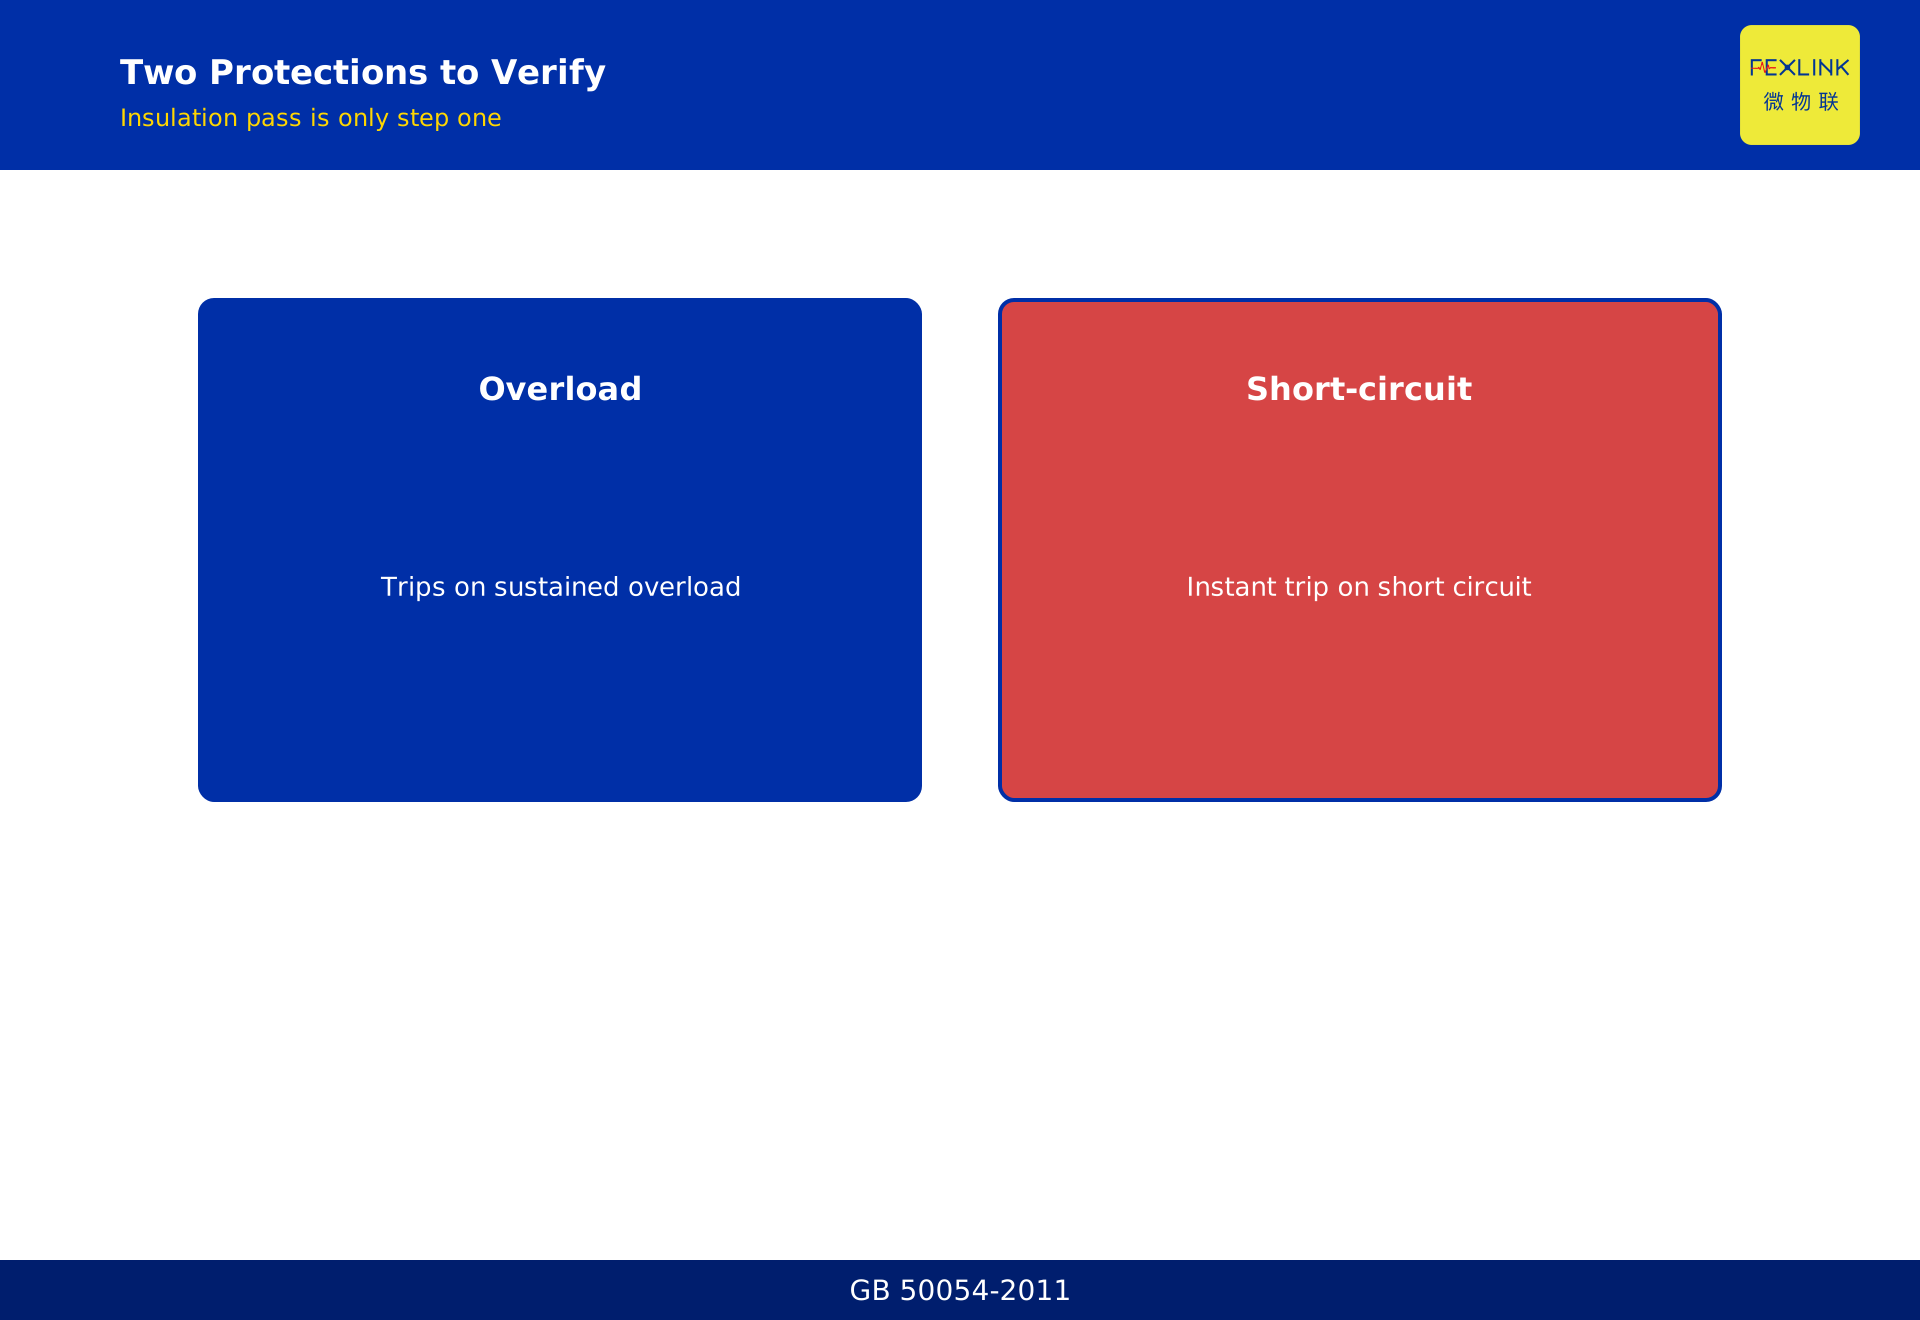
Direct Answer
Before energizing a new distribution cabinet, beyond insulation testing, you must run a checklist covering both overload and short-circuit protection: rated current match, correct trip curve, upstream/downstream grading, and breaking capacity above the prospective short-circuit current. This 30-minute checklist catches everything that would otherwise cause "trips the moment you close" or "should have tripped but did not."
At a new factory plant room, the installer finished the cabinet, passed an insulation test, and applied for energization. On the first closure, the upstream transformer incoming MCCB tripped—because the feeder MCCB's instantaneous setting landed in the same band as the upstream, with no selectivity check. Re-work and outage took two days.
1. Why "Insulation Test Passed" Is Not Enough
Insulation testing only answers one question: is there a ground fault inside the cabinet?
Two protections actually operate after energization:
- Overload protection: trips after sustained over-current, protecting cables and loads from thermal damage.
- Short-circuit protection: trips in milliseconds on extreme over-current, protecting the breaker itself.
Passing insulation does not mean the settings are right or coordinated.
2. Overload Protection: Four Checks
Step 1: rated current match. Breaker In must match cable ampacity. In must not exceed the cable's long-term ampacity, or the cable will overload before the breaker trips.
Step 2: trip curve. Lighting uses Type B/C; motors use Type D. Wrong curve means nuisance tripping on inrush.
Step 3: long-time delay. Electronic MCCB long-time delay typically 0.9–1.0× In, timed to cable thermal withstand.
Step 4: sum of downstream loads. Load rated current sum must not exceed breaker long-time pickup.
3. Short-Circuit Protection: Three Checks
Step 1: calculate prospective Isc at the installation point, from transformer impedance, busway length, and cable cross-section.
Step 2: verify Icu ≥ Isc. Hard requirement. Icu below Isc means the breaker will explode on a real short.
Step 3: upstream/downstream time grading. Upstream short delay 0.2–0.4 s; downstream instantaneous; gap ≥ 0.2 s.
4. The 30-Minute Checklist
Print this out before energization and tick every row:
| Category | Item | Pass |
|---|---|---|
| Insulation | Phase-to-phase / phase-to-earth | ≥ 0.5 MΩ |
| Overload | In vs cable ampacity | In ≤ ampacity |
| Overload | Trip curve | B/C/D matches load |
| Overload | Long-time setting | 0.9–1.0× In |
| Short-circuit | Isc at location | Calculated |
| Short-circuit | Icu vs Isc | Icu ≥ Isc |
| Coordination | Upstream/downstream time gap | ≥ 0.2 s |
| Coordination | Current grading | Upstream ≥ 1.5× downstream sum |
5. Where FECB2SP Fits After Energization
Energization is only the start. Every overload, short-circuit, and trip after commissioning is recorded by the FEXLINK FECB2SP smart breaker—current peak and operating time—uploaded via RS485. The first three months are the "exposure period" when setting problems surface.
Open the FECB2SP log: trip current, trip time, long-time vs instantaneous—you immediately tell whether it was selection, setting, or a real fault.
6. Why Check Before Energizing
A reader may ask: the installer followed the drawings, why do I still need to check?
Because drawings are from the design stage — the site may have changed:
1. Cable size changed:
- Drawing: 50 mm² cable.
- Site: installed 35 mm².
- Breaker In unchanged — but cable ampacity dropped — overload protection mismatched.
2. Upstream/downstream settings changed:
- Drawing: upstream short delay 0.3 s.
- Site: commissioning engineer changed the setting.
- No selectivity check done — trips upstream immediately on energizing.
3. Load changed:
- Drawing: load 100 A.
- Actual: load 150 A.
- Breaker In 100 A — trips on overload immediately after startup.
Drawings are ideal. The site is reality — verify everything before energizing.
7. A Real-Life Lesson
A new factory building. The installer finished the switchboard per drawings — megger test passed.
Applied for energization.
First time closing the main breaker — the upstream transformer incoming MCCB tripped immediately.
Why?
Investigation: the downstream feeder MCCB instantaneous setting fell in the same range as the upstream — no selectivity check was done.
Rework: re-adjusted upstream and downstream settings — two days of downtime — schedule completely disrupted.
Lesson: do not just megger the insulation and energize — verify protection settings per the checklist.
A 30-minute checklist saves two days of rework.
8. How to Monitor After Startup
After the new switchboard is energized — the first three months are the "exposure period" — many setting problems will surface during this time.
How to monitor?
FECB2SP smart breaker:
- Records peak current and clearing time for every trip.
- Long-delay vs instantaneous — clear to see.
- Overload vs short-circuit — clear to see.
ESI digital status monitor:
- Records breaker status changes.
- Shows upstream/downstream timing difference.
Three months of operation — collect several real trip records — use them to verify whether the original settings were correct.
If nuisance trips are frequent — wrong curve selected — adjust. If upstream tripping happens often — time gap insufficient — adjust.
This is "post-startup verification" — design calculations must be confirmed by real operation.
9. One Sentence to Remember
Before energizing a new switchboard — do not just megger the insulation — verify protection settings per the checklist. A 30-minute checklist saves two days of rework.
This is the correct way to commission a new switchboard.
10. Common Questions
Q: If the megger test passes, can I energize? A: No. Megger only checks ground faults, not protection settings. You must also verify overload and short-circuit protection per the checklist before energizing.
Q: How long until a new switchboard stabilizes? A: The first three months are the "exposure period" — many setting problems will surface during this time. After three months of stable operation, the settings are likely correct.
11. Quick Checklist
Before energizing:
- Verify cable size matches the drawing.
- Check breaker In matches the load.
- Confirm upstream/downstream selectivity settings.
- Test overload protection coordination.
- Test short-circuit breaking capacity.
- Record all settings in the commissioning report.
This checklist ensures the new switchboard is safe to energize. Skipping it is the most common cause of commissioning failures.
12. How the FECB2SP Helps After Startup
The FECB2SP smart breaker records every trip event with peak current and clearing time. In the first three months after startup, these records are your most valuable diagnostic tool.
Example:
- A nuisance trip occurs on a lighting circuit.
- FECB2SP records: 25 A peak, long-delay trip.
- Interpretation: the load on that circuit is 22 A — close to the 25 A breaker rating.
- Action: redistribute the load or upsize the breaker.
Without the FECB2SP record, you would not know whether the trip was caused by overload, short-circuit, or a nuisance. With the record, you can diagnose in minutes instead of hours.
13. Why the 30-Minute Checklist Matters
The 30-minute checklist is not a formality. It is a risk-mitigation step. Each item on the checklist corresponds to a real failure mode that has caused real downtime in real projects.
- Cable size mismatch → overheating → fire.
- Breaker In too small → nuisance trips.
- Breaker In too large → no protection.
- No selectivity → upstream trips on downstream fault.
- Breaking capacity too low → breaker explosion.
Each of these has happened. Each has caused downtime. Each can be prevented by a 30-minute checklist.
The cost of 30 minutes of checklist time is trivial compared to the cost of even one day of unplanned downtime.
Invest the 30 minutes. Save the two days. It is the best ROI in electrical commissioning.
Every electrician knows this. Every commissioning engineer has learned this the hard way. Do not learn it the hard way — use the checklist.
The checklist is your friend. The checklist is your insurance. The checklist is your 30 minutes well spent.
Use it every time. Do not skip it. Do not shortcut it.
Your switchboard, your schedule, and your project budget will thank you.
This is not optional. This is not a suggestion. This is how professional electrical engineers commission new switchboards.
Follow the process. Respect the checklist. Deliver a safe, reliable switchboard that runs for decades without surprises.
That is the goal. That is the standard. That is what good commissioning looks like.
Strive for that. Deliver that. Be the engineer who does it right the first time.
That is the difference between a rookie and a professional. That is what this article is all about.
Remember this. Apply this. Share this with your team.
Thank you for reading. Stay safe out there.
Always.
Scope and Limitations
This article applies to GB 50054-2011 and GB/T 14048.2 on pre-energization protection verification. The checklist is typical; specific projects must follow design drawings and site fault-current calculations. The factory mentioned is anonymized. FECB2SP records support post-commissioning review and do not replace manual pre-energization checks.