 微物联研究院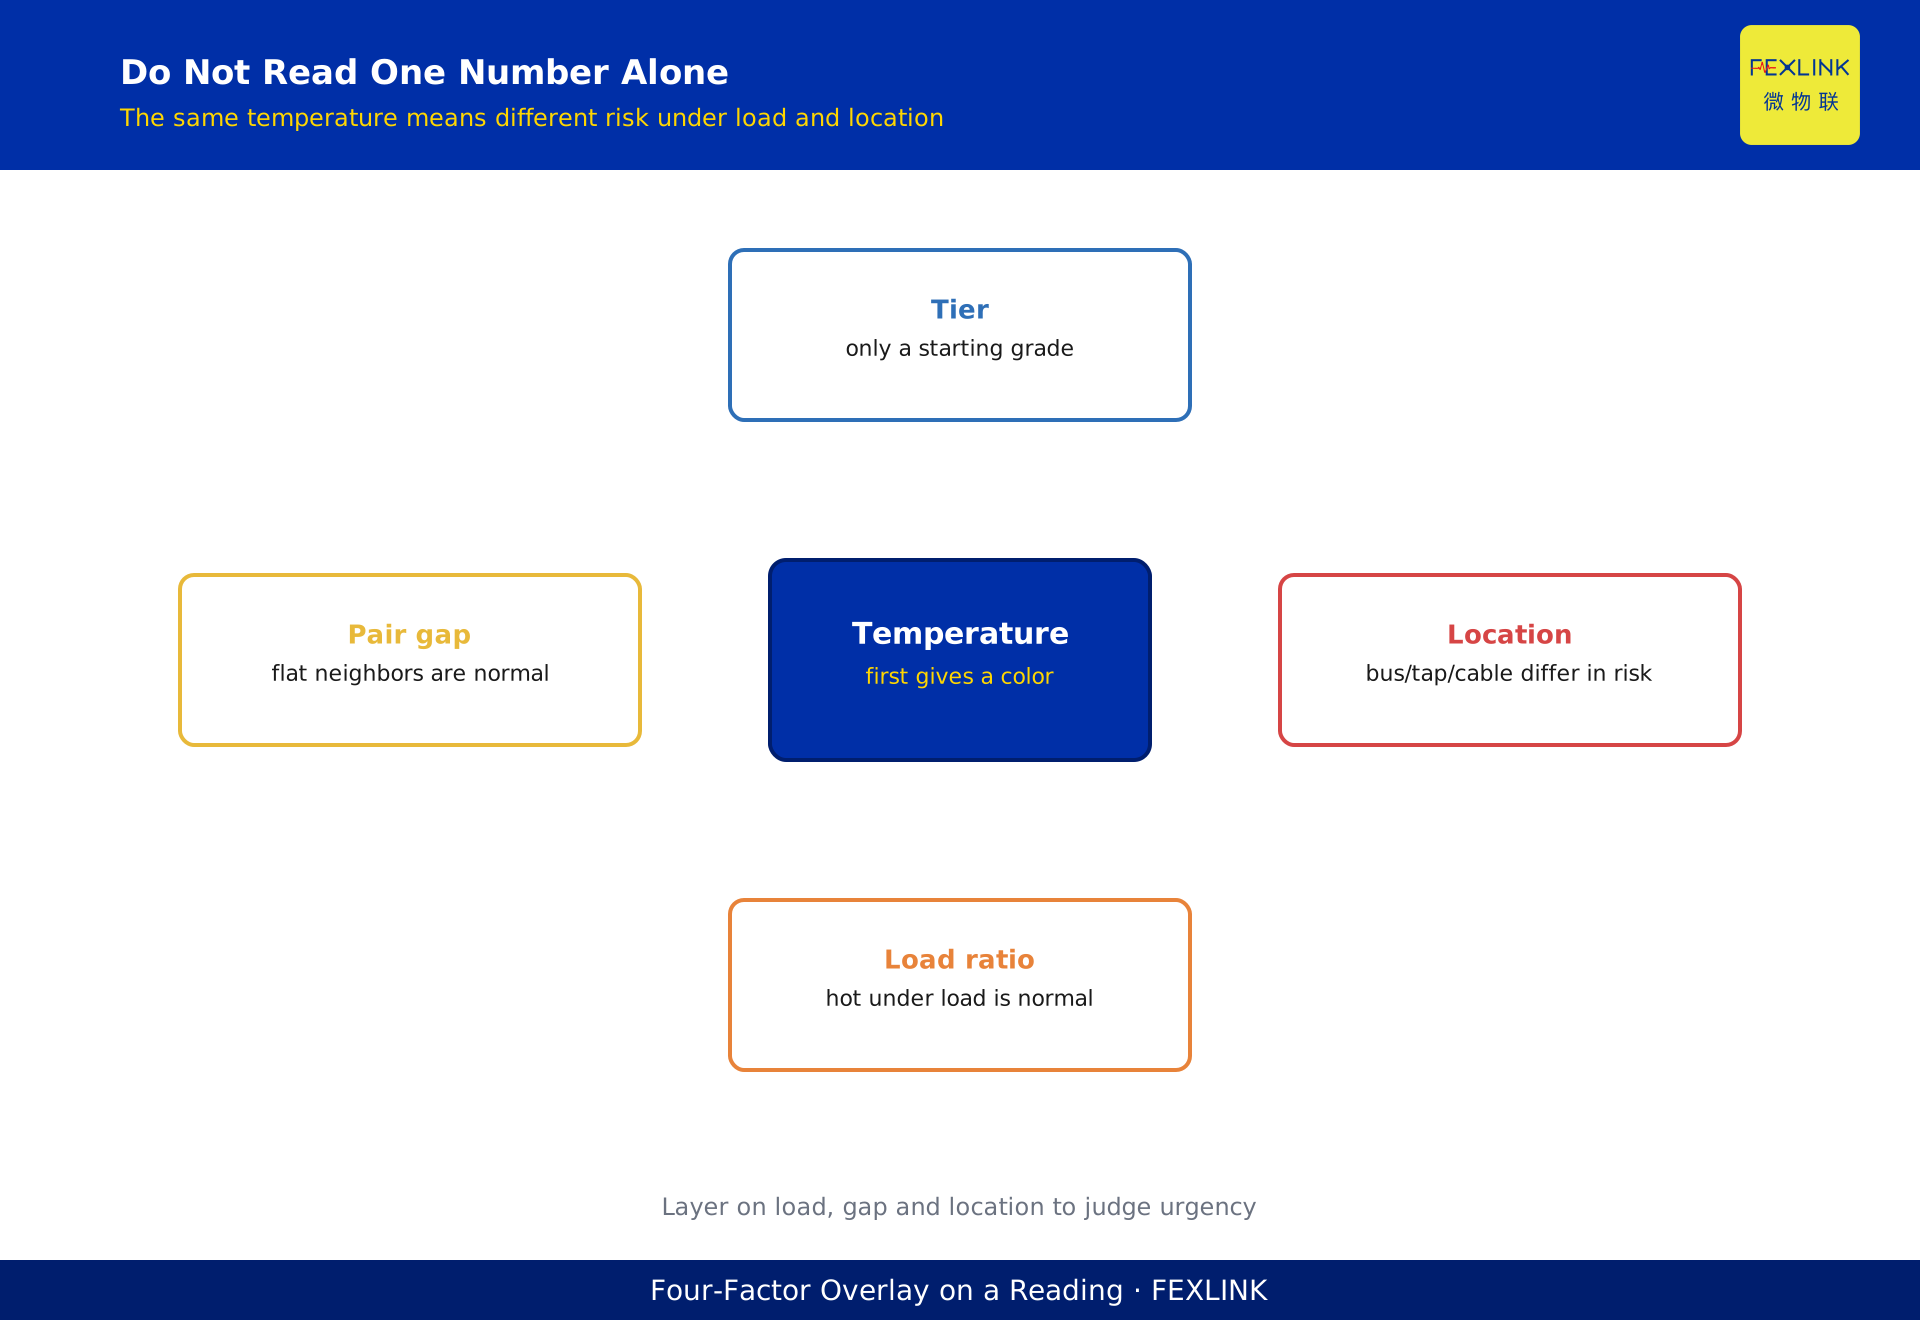
Direct Answer
When a temperature alarm pops up on a busbar monitoring dashboard, the first question an operator asks is: which action level am I at — schedule a shutdown, or just watch? Under the FEXLINK busbar monitoring scheme's four-tier response scale (typical disclosed reference values): blue 55 C means log and track, yellow 65 C means check load and bolt torque, orange 80 C means put it on the planned-outage list, red 100 C means shed load immediately and act.
More important than memorizing four numbers is the principle behind them: never read temperature in isolation. The same 70 C means one thing on a heavily loaded feeder and another on a lightly loaded one. The same 65 C means one thing at the center of a main bar and another at an outgoing terminal. Read temperature tier together with current load, within-group spread, and topological position — the thresholds are the starting point, not the verdict.
1. Where the Four Thresholds Come From
A caveat first: 55/65/80/100 C are typical reference values the FEXLINK busbar scheme has settled on through field practice (a disclosed, engineering-calibrated scale), not hard numbers written into a national standard. Their job is to give operators an actionable tiered-action table, not to replace site-specific judgment.
Why these four points? Low-voltage bars and overlaps are mostly copper or aluminum; the long-term allowable temperature of insulation and clamping bolts has an engineering ceiling. GB/T 7251.6-2015 covers busbar trunking systems. Moving from "start watching" to "verify" to "plan a repair" to "act now," the higher the temperature, the shorter the remaining window. The four tiers cut along that time axis. On deployment, the scale is locally calibrated to actual loading, bar material, and historical data.
2. Blue 55 C: Log and Track, Do Not Act
Blue means "start watching," not "start repairing." A joint climbing from 40 C to 55 C has already left its baseline, but it is nowhere near the danger zone. The correct action is to mark it as a watch point and read its slope over the next week or two — not to open a shutdown ticket.
Two overreactions are common. One is scheduling an outage on every blue alert; within a year the operation team is exhausted and starts ignoring every alert. The other is ignoring blue entirely; three months later it quietly reaches orange and the golden window is gone. Blue should be auto-logged by the system, with operators stepping in only when the slope accelerates.
3. Yellow 65 C: Check Load and Torque
Yellow means the joint needs a look. Not an immediate outage — two things: check the current load and re-examine the joint.
Check load first: if the feeder is heavily loaded (afternoon process peak in summer), 65 C may simply be tight design margin, and temperature will fall once the load drops. Then inspect: an energized infrared check of the overlap, looking for loosened torque or oxidation. If neighboring joints in the same group sit around 60 C and this one alone hits 65 C, contact resistance is likely high; log it for the next planned outage.
A real generic-plant example: on a summer afternoon an injection workshop runs full, and the incoming switchgear bar runs just above 60 C. At first everything looks like it needs treatment. Overlaying the load curve shows the 63 C on the heavy feeders is normal hot-running, while a feeder at only 30 percent load reached 68 C — a near-10 C spread within the group. On opening, that overlap had loose bolts and an oxidized surface. Without load context, the conclusion would have been exactly reversed.
4. Orange 80 C: Planned Outage, Soon
Orange means "start planning." At 80 C, oxidation and thermal loosening have entered the feedback loop, and the remaining window is measured in weeks — open-ended observation is no longer acceptable.
The right move is to schedule a planned outage: open the overlap, clean oxidation, re-torque or replace bolts and splice plates, and swap deformed bar sections if needed. It is a planned outage, not an emergency repair. Orange is still controllable, and planned repair is the cheapest path; dragging into red means forced load-shedding or an unplanned shutdown in service, at far greater cost.
Two details are easy to miss. Re-torque alone is not enough: if the surface has oxidized and blackened, clean it back to bright metal and apply conductive compound before reassembly, or contact resistance stays high. After repair, mark the point as "serviced" in the platform so its temperature baseline resets; otherwise it keeps judging against old high-temperature history and future alerts drift.
5. Red 100 C: Shed Load Immediately
Red means "act now." At 100 C, nearby insulation and bolts are absorbing potentially irreversible heat damage; continued running risks weld-down, arcing, or ignition of surroundings.
Action: immediately shed load (transfer or lower the feeder), station someone on site, and shut down urgently if needed. Red does not wait for the next maintenance round. In the FEXLINK Taiyi system, this level goes out as a highest-priority push with the relevant standard reference and exact location — operators should treat a red alert like a fire alarm, not like an email.
6. Never Read Temperature Alone: Load and Spread
This is the most important section. Four static numbers, but live temperature is dynamic. The same 70 C:
On a 90-percent-loaded feeder at summer peak, it may be normal hot-running. On a 30-percent-loaded feeder, 70 C is deeply suspicious — at light load, a healthy contact should run only a dozen degrees above ambient. That is why the platform shows current load alongside every temperature reading, so operators judge whether the temperature fits the load.
The other criterion is within-group spread. A row of adjacent joints carries similar load and cools similarly, so they should read level; if one runs more than about 5 C hotter than its neighbors, prioritize it regardless of its color. This rule needs no precise load model and is the easiest to execute on site.
7. Position Matters
FEXLINK Taiyi's position-aware capability pays off on temperature alerts. The same 65 C:
Near a transformer winding may be normal. At the center of a main bar, moderate concern. At an outgoing terminal, already high risk. On a cable insulation jacket, it means the insulation is aging and needs immediate action. The system keeps per-position thresholds and risk models for five topological locations (PCC, main panel, distribution panel, feeder, load terminal) and can drill an alert down to terminal and contact level. In practice the platform does not tag every 65 C the same color — it weights risk by where the point sits. The alert reads "incoming bar to breaker overlap at cubicle 3, 65 C," not a bare number.
8. Cut False Alerts: Thresholds Are Not One-Size
The field headache is not missing alerts but too many. A naive "alert on exceedance" fires all summer. The right approach is to let thresholds move with load and spread: widen on heavy load, tighten on light load, and warn early when within-group spread opens up — before the absolute threshold is crossed.
FEXLINK runs a two-to-three-week baseline period before formal tiered alerting, so the system learns this site's normal temperature distribution. After that, blue alerts are auto-consolidated, and only slope anomalies or tier jumps reach the operator. That is the point of alert compression: not silence, but only what truly needs a human.
A practical deployment sequence helps. In the first weeks the system runs quietly, collecting baseline temperature, current, and spread for every monitored joint. Operators watch the dashboards but do not act on blue. Once the normal distribution is learned, tiered alerting turns on; the platform then flags not just absolute exceedances but tier jumps (blue to orange without an intermediate yellow) and spread anomalies that an operator would otherwise miss. This is why a generic plant in a humid coastal climate and a dry inland plant should not share identical thresholds out of the box: the baseline period calibrates them.
9. The Response Matrix
Collapsed into one executable table: blue 55 C — log, watch the slope, no outage. Yellow 65 C — check load, verify torque and oxidation, keep watching. Orange 80 C — planned outage soon, open, clean, re-torque. Red 100 C — shed load now, stand by, emergency trip if needed. Layer on top: is the load normal, is the within-group spread large, and is the position sensitive. When all four line up, an alert is an action, not a number.
Scope and Limits
This page addresses tiered temperature response for low-voltage busbar trunking and switchgear overlaps, 0.4 kV and below AC. The 55/65/80/100 C tiers are FEXLINK's typical disclosed reference scale and must be locally calibrated against load, bar material, within-group spread, and position; they do not override mandatory requirements in GB/T 7251.6-2015. EST sensing parameters (-20 to 100 C, +/-1 C, about 100 nodes, ~300 m) come from the product knowledge base. Generic-park and generic-plant scenarios are anonymized. High-voltage, DC, and bar-body fractures are out of scope.